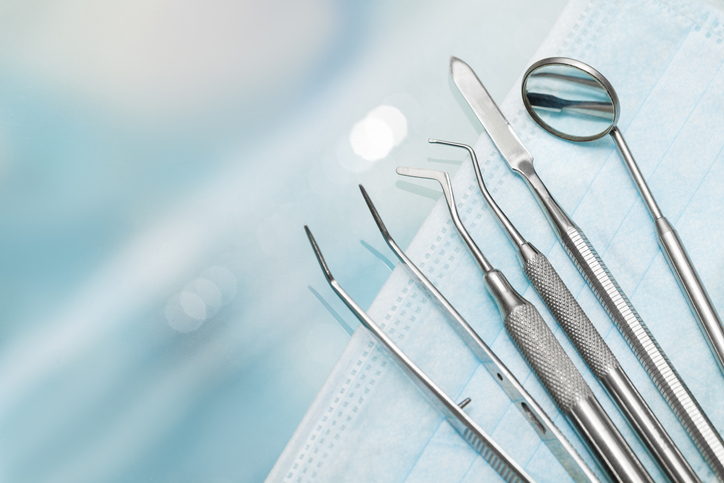
 Any instruments used in a dental practice must be sterilized effectively and cleaned thoroughly enough to safely be used on clients. Dental instruments are bound to interact with a person’s microbes and bacteria, and therefore risk infection.
Therefore, it’s important to control any possible contamination for the safety of all parties and to maintain efficiency at the dental practice. To do this, you’ll need to sterilize them and ensure that they are as clean as you can possibly get them, and there are steps you’ll have to take to get it done.
Here are some tips for sterilizing dental instruments.
The Preparation Phase: First Steps in the Sterilization Process
Before you begin sterilizing any instruments, make sure you are wearing PPE (personal protective equipment). This can include utility gloves, face masks, and special eyewear to help protect you from any microbes you could come into contact with, as well as from contaminating instruments with anything you’re possibly carrying.
You must also be sure that instruments are cleaned properly before being sterilized (though do not wash them by hand), and that they are soaked and sprayed with a solution to prevent the buildup of fluids from hardening on them. Ideally, you would do this via automated instrument washers or disinfectors, or with an ultrasonic solution that uses sound waves to expedite the cleaning process.
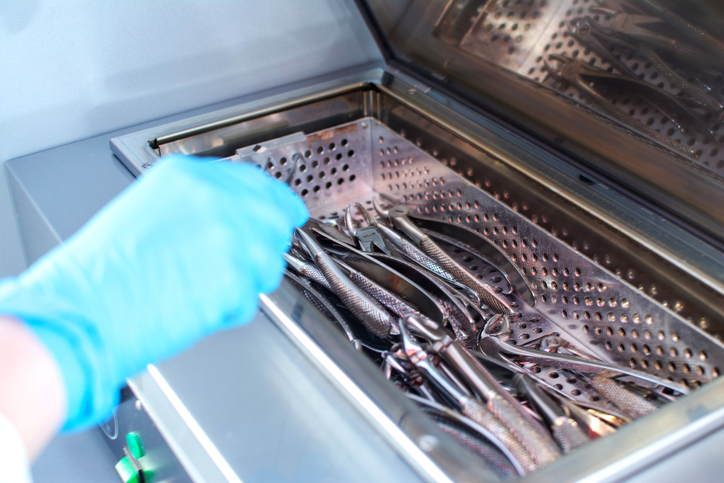
Students in dental assistant school can expect to learn how to sterilize instruments during their training, and they should also know to store them in a room separate from where dental procedures take place to avoid potential cross-contamination.
Additionally, because many dental instruments are sharp, they should be handled with great care while wearing heavy-duty gloves when brought to this separate room so that you can avoid injuring yourself. Bring them to this room to be sterilized after an appointment, and separate clean and dirty instruments on separate sides of a table, so you know which one is which.
The Sterilization Phase Explained for Dental Assistant School Students
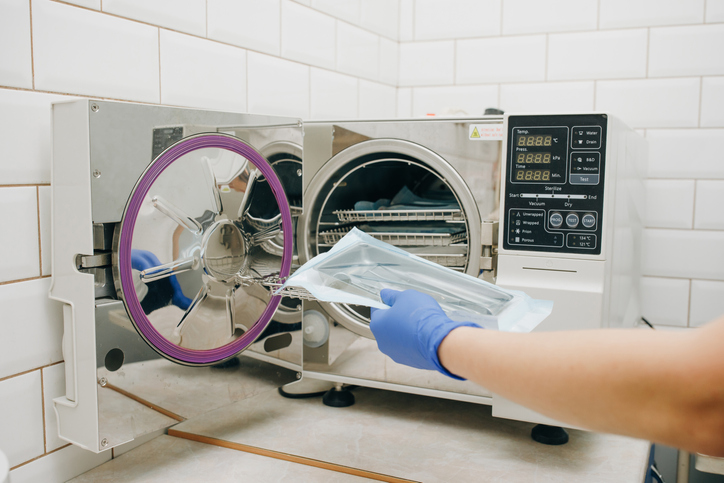
Before you begin properly sterilizing your instruments, be sure they are dried out first. They will be wet after you place them in the sterilizer if they are not, and this creates a health and safety hazard as well as possible corrosion.
Once they are dried, package them and seal them in an autoclave wrap to minimize any exposure to air, and load them without placing them too close to one another. Be sure to use locked, closed-system cassettes to save time, and to avoid contact with hands and possible contamination. If possible, have a cassette rack readily available so you can sterilize instruments without overloading.
Students in intra-oral dental assistant training would also be wise to learn to keep instruments inside their packaging before being used, whether these are autoclave wraps, pouches, or other appropriate packaging materials. Package them carefully to avoid poking holes, as you’ll need to restart with a new package if you do.
Put the instruments in the sterilizer, and begin the process once it is full. Take the instruments out once the sterilization has finished, and store them away from any dirty instruments. Ensure no holes have appeared through the packaging (they will need to be sterilized once more if this happens), and discard the piece of paper attached to the sterilizer.
Want to take courses at dental assistant college?
Contact Medix College for more information!